

As I mentioned previously I recently picked a gaming project with a pretty excessive painting requirement. In the early stages of the project I did paint a few stands using my typical technique. I laid down a base of white gesso, then painted the miniature, and then used Games Workshop Badab Black wash followed by a matte coat. The results were nice enough but the work really moved at a crawl and I realized after a while that I would never be ready in time.
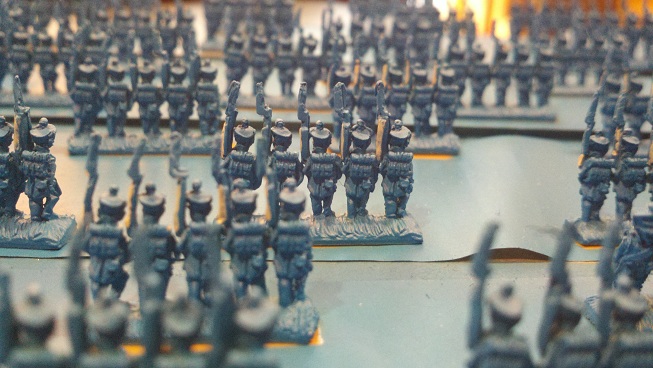
I went ahead and ordered the bulk of my troops from Warweb and once they arrived I cleaned and laid out my entire French infantry contingent. That was a pretty intimidating sight but also exciting as the premise of fielding a painted army of that size was really appealing. That evening I ventured into my garage and laid down a layer of Army Painter Crystal Blue primer. I had read that one of the keys to using Army Painter successfully is to read the instructions. Now for hobby activities I typically hate to read or follow instructions of any sort but the stakes were high enough that I made an exception. I'm lucky I had the sense to do so. The instructions make it clear that you have to spray from twenty centimeters away or less. It was interesting to see that if I increased the distance the spray would dissipate uselessly. If I sprayed from the suggested range the miniatures were coated well but the paint seemed quite think and obscured the details.
 I brought the minis inside and went to look for the paint stripper while they dried. After only a few minutes I was happy and relieved to see that the primer had coated the figures evenly and thinly. The first Army Painter lesson: paint at close range and the coat will look terrific. Paint at longer range and you get no coating at all. I usually have doubts about new products but this one was performing pretty well so far, at least as long as I followed instructions.
In the project's next step I painted all the areas that would not be blue or black. That amounted
 to pants, inner clothing, belts and backpacks. Cuffs and pompoms would be painted last. This step was as tedious as expected but the primer did leave a nice smooth coat and the paint flowed easily across it. At this stage I had to admit that my time spent priming was cut dramatically and that the painting stage was potentially a little easier as well. For the rest of the project I'd be keeping that question in mind- was the Army Painter system saving me time, improving the results, both or neither. So far the answer was: both! I was looking forward to the next step- the Dip...


No comments:
Post a Comment